12 Common Seed-Starting Blunders (And How to Grow Successfully)
Steer clear of these frequent errors when germinating seeds to cultivate stronger seedlings this coming spring.
Overall, the process of starting seeds indoors It’s quite simple: sow the seeds, provide water, and be patient. However, various seed-sowing blunders might hinder your progress toward cultivating robust, thriving seedlings. To help transform the vivid pictures from seed catalogues into tangible success in your own garden, ensure you steer clear of these frequent pitfalls.
Related: The Top 10 Websites for Purchasing Seeds Online
1. Not Enough Light
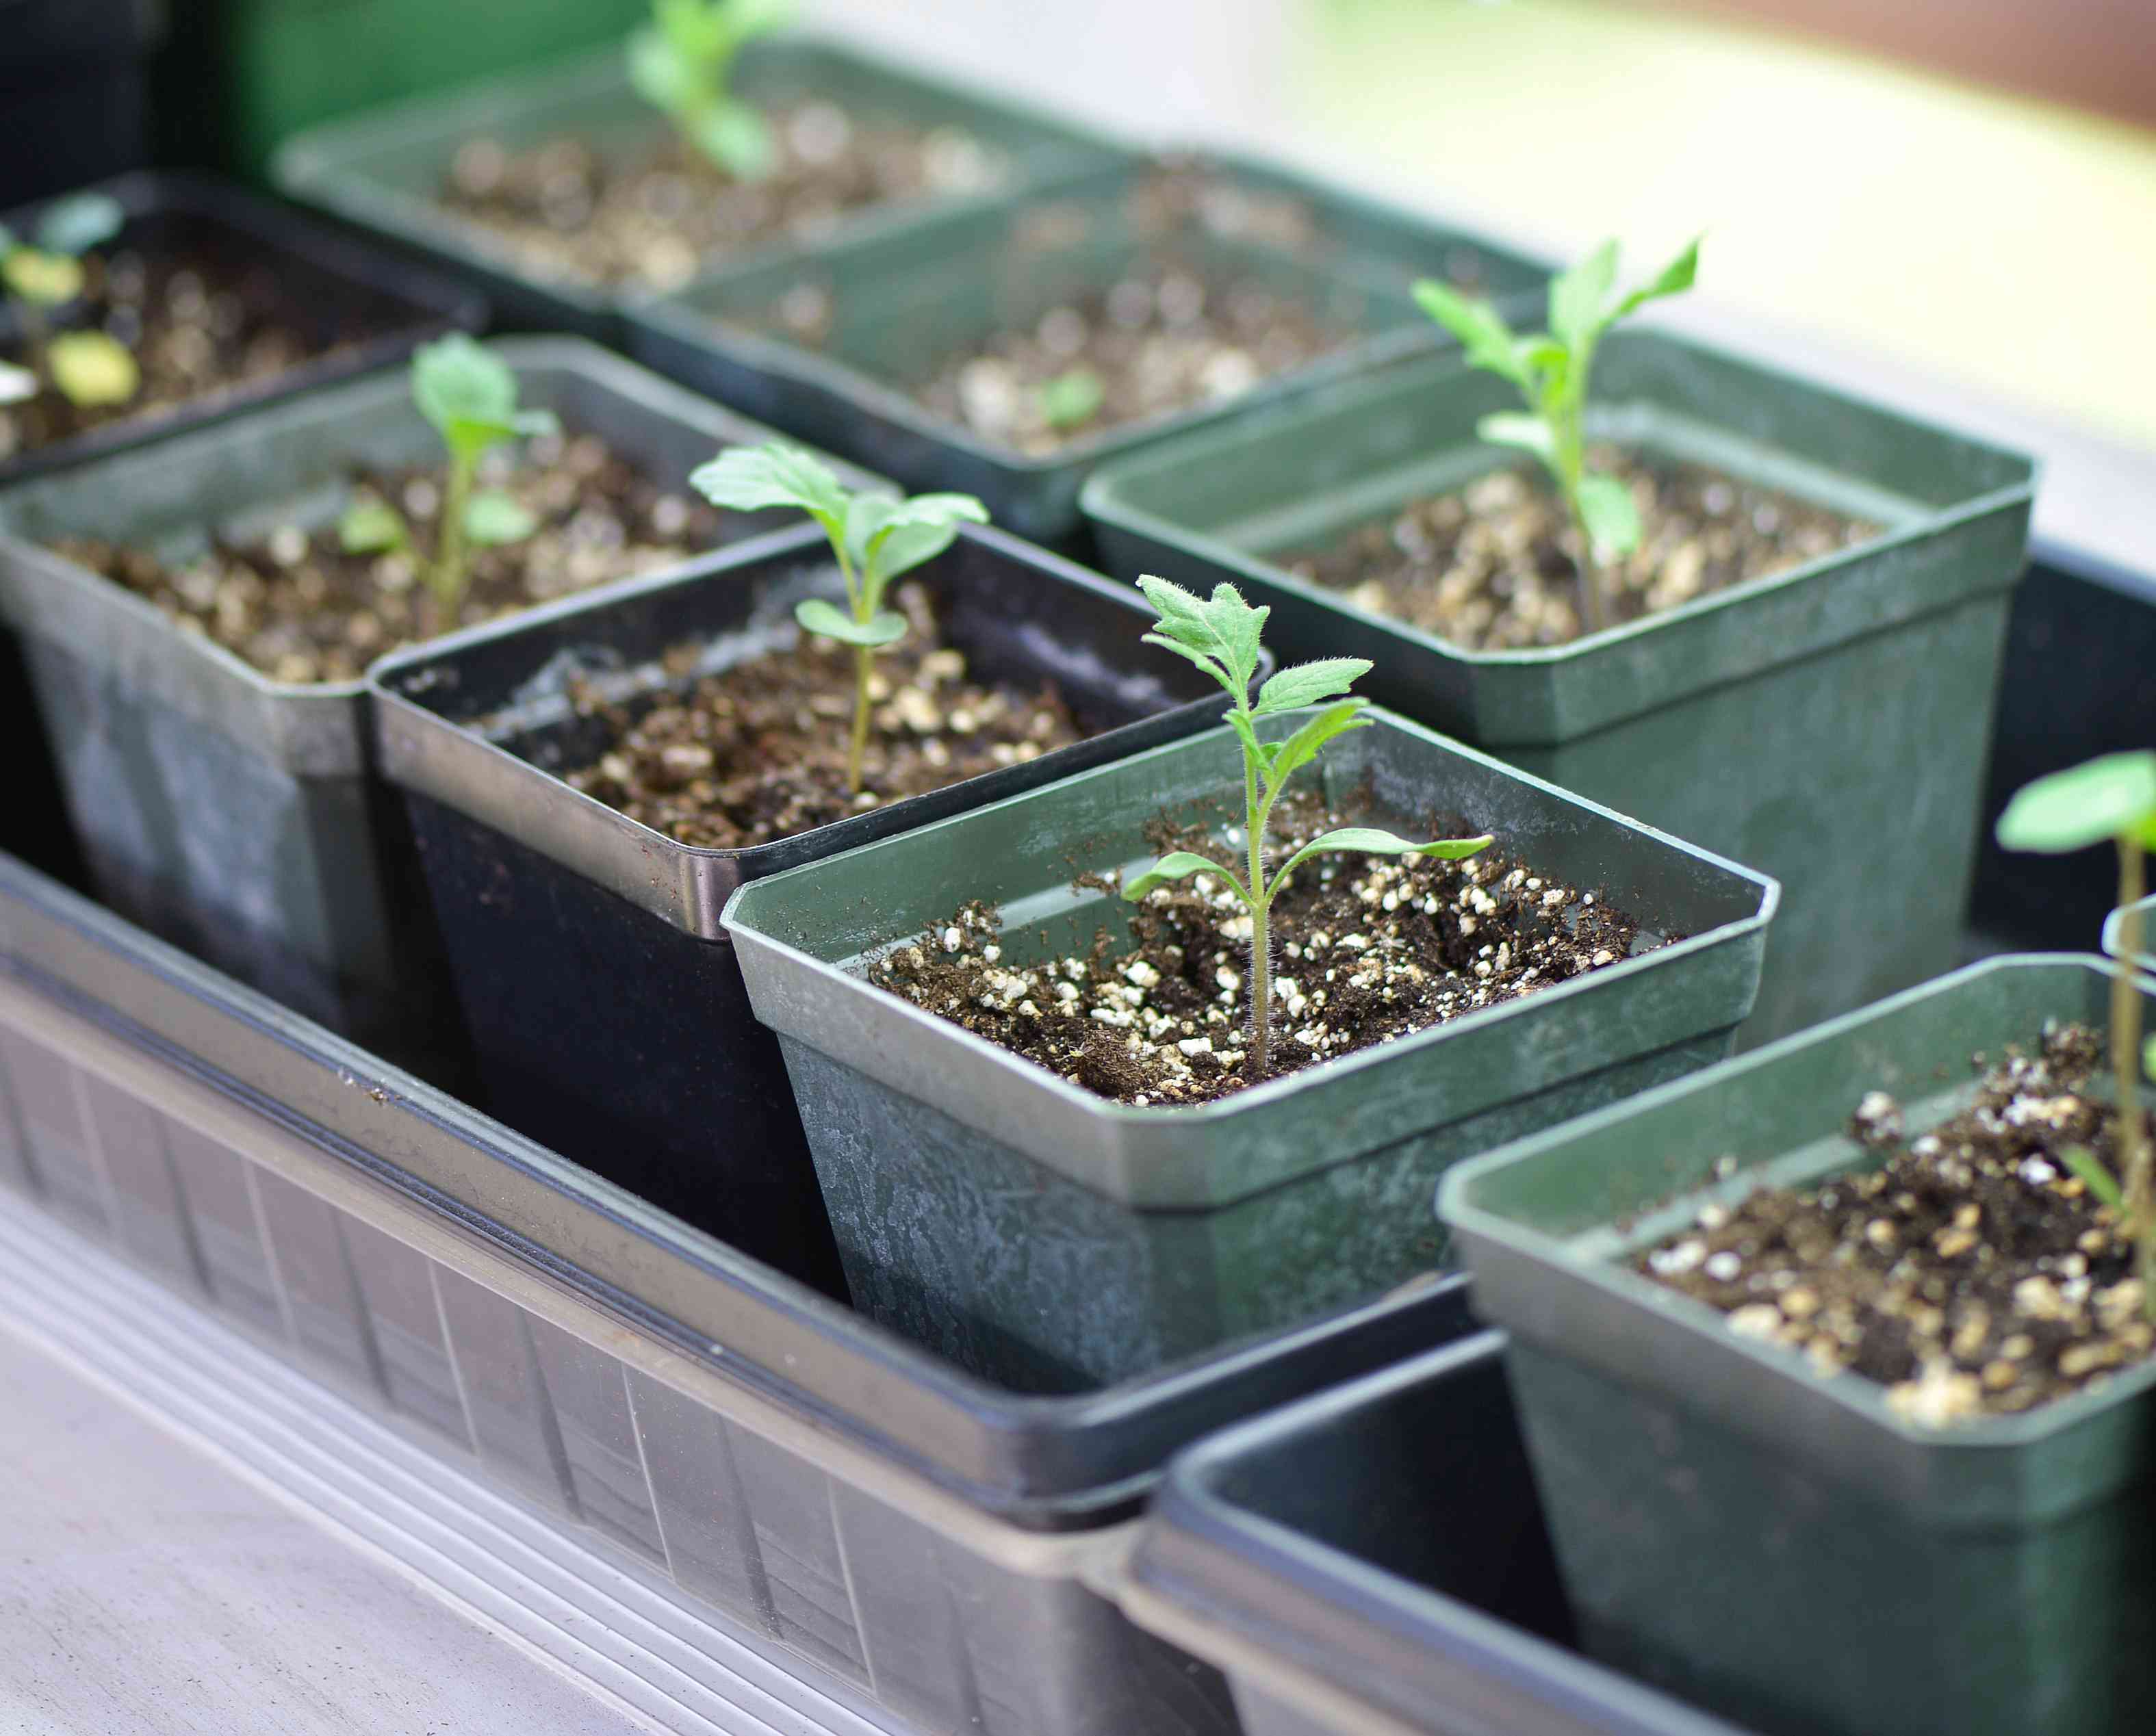
When we were young, we may have grown a bean seed in a paper cup on a windowsill with success. However, most sunny windows receive sunlight for just a few hours daily, particularly in late winter and early spring. when we're starting seeds Although ample lighting is not essential for seed germination, it is crucial for cultivating robust and healthy seedlings.
If your seedlings appear leggy, stretched out, tilting towards the light source, or aren't growing much, they probably require additional illumination. Seedlings grown indoors frequently benefit from extra artificial light. Whether you choose an LED or fluorescent bulb is up to you; either type works well for initiating plant growth.
Related: The 11 Top Grow Lights for Healthy Plant Growth, Tested and Selected
2. Beginning Seeds Prematurely
If you're eager to begin the gardening season, it can be alluring to start during the heart of winter. However, initiating seedlings too soon increases the risk of issues arising from bugs and illnesses. Frequently encountered nuisances with houseplants encompass fungus gnats , thrips , and whiteflies .
Young plants may also become overly large as they wait for an appropriate moment to be transferred outdoors. Ultimately, this could lead to problems. outgrow the soil block If seedlings aren’t transplanted into progressively bigger pots, they can become rootbound, leading to inhibited growth and increased vulnerability to diseases. Furthermore, continuously upgrading to larger containers will eventually pose storage challenges—assuming you haven’t got access to a spacious, warmed greenhouse.
This is why the standard guideline suggests starting seeds 6-8 weeks prior to transplanting them outside. This duration allows your young plants sufficient time to develop without being overly exposed to typical indoor threats like pests and illnesses, plus it prevents occupying too much space indoors.
3. Using Old Seeds
A typical seed packet usually includes more seeds than what an average homeowner can utilize within a single planting season. If kept under proper storage conditions, Most seeds can remain viable for several years. However, certain ones lose their ability to sprout within just a few years. If you’re uncertain about the viability of the seeds you plan to plant, sow extra beyond your estimated needs to compensate for potential unsuccessful germination.
As an alternative, perform a germination test by putting five or ten seeds onto a damp paper towel inside a zip-top bag. Should these not sprout consistently within the timeframe indicated on the seed packet, think about purchasing new seeds for improved outcomes.
4. Overlooking the Seed Pre-treatment Step
Certain seeds require pre-treatment. Luckily, Most vegetable seeds are simple to grow. —they can be sown immediately. However, certain annuals and numerous perennial seeds require pre-treatment before planting. cold-stratified To overcome dormancy and sprout. Seeds possessing extremely tough seed coats, like those of sweet peas or nasturtiums , should either be nicked or soaked in water for a few hours before planting .
If you've tried to grow perennial flowers from seed and had poor germination, forgetting to cold stratify might be the reason. Many perennial plant seeds need a cold treatment of 30 or even 60 days. If you run a bit behind, you'll still have better luck giving them some time in the refrigerator and planting them later in spring.
5. Planting Seeds Too Deeply
As a general rule, seeds should not be planted deeper than twice their width or diameter. For example, a seed that is 1/16 inch wide should be planted no more than 1/8 inch deep. For example, a tiny lettuce seed does not have enough energy to poke above the soil if planted an inch deep. Pay attention to the instructions on the seed packet, or look it up online.
Numerous flower seeds, like lisianthus requires exposure to light for germination and shouldn’t be buried under soil; otherwise, they will fail to sprout.
6. Not Labeling Pots
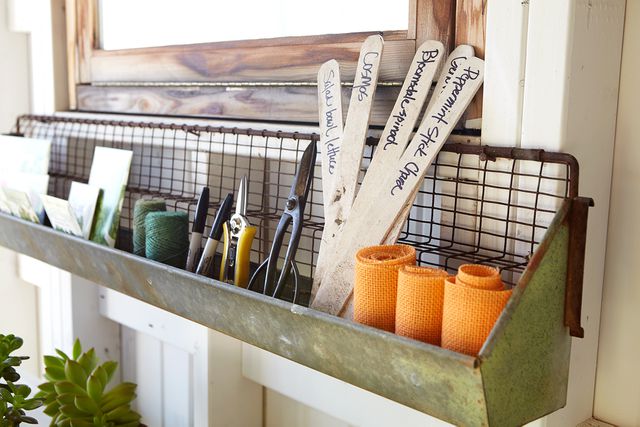
This seems quite innocuous, yet it’s incredibly simple to lose track of which section of the cellular array was sown with what seeds. Marking becomes even more crucial when you’re working with multiple distinct variants of the same species, such as three or four differing types. types of tomatoes .
Labels can be as basic as masking tape or a Popsicle stick. Enjoy crafting creatively. DIY labels The crucial aspect is not how the labels appear, but rather that you put them out there at all.
7. Giving Excessive Water
The most common one error novice gardeners often commit when beginning with seed sowing is maintaining the expanding mixture overly moist. Too much moisture and humid conditions serve as incubators for fungi, particularly the notorious one known as damping off disease This impacts the germination rates of seeds and can lead to whole trays of young seedlings wilting and deteriorating within a few days.
Employing a sterile, quick-drying seed starting mixture can reduce excessively wet circumstances and prevent diseases. Ensure you do not allow your containers or trays to stand in standing water. Additionally, positioning a gentle breeze from a small fan across your young plants can help ward off damping-off disease.
Related: The Top 4 Seed-Starting Soil Blends, Evaluated by BHG
8. Forgetting to Water
Young seedlings are delicate compared to their hardier adult counterparts. Just a few days without adequate water can lead to disaster for these vulnerable sprouts, while established plants could recover from drooping. Ensure you inspect your seedlings daily to see if they require watering before they reach the wilted state.
When saplings grow bigger, they consume water at a faster rate. A young broccoli sprout may not require daily hydration, yet one that has reached four inches tall in a compact container probably will. To help keep track, consider setting a reminder on your mobile device or wristwatch.
9. Not Thinning Seedlings
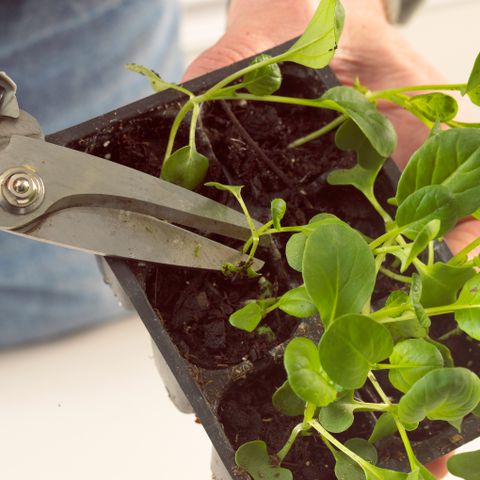
Not removing excess seedlings leads to overcrowding and increased plant stress. Often, whether intentional or not, multiple seeds end up being sown in a single hole, resulting in more than one sprout emerging from it.
If you place too many seedlings in a confined space like a small pot or cell pack, they will have to compete with each other for essential resources such as sunlight, water, and nutrients. As soon as the genuine leaves begin to emerge, reduce the number of plants by carefully cutting away excess seedlings using scissors. This method prevents damage to the root system of the remaining plant.
10. Delaying Repotting for Too Long
When seedlings outgrow their containers without being moved to a bigger pot, they can get rootbound. This means the growth above ground mirrors what’s happening underground with the roots. If you cram and restrict them, the entire plant will struggle as a result.
To examine the root system, gently remove a young plant from its pot. If you notice roots beginning to circle along the edges of the container, it’s advisable to transplant it.
Related: The 11 Top Seed Starting Trays to Boost Your Gardening Efforts
11. Fertilizing at the Wrong Time: Too Early or Too Late
Seeds serve as small containers of energy, adequately equipped to nourish the developing plant until it establishes its initial roots and foliage. Young seedlings ought not to receive fertilizer during their early stages when they are still delicate, since applying nutrients at this point could potentially harm the vulnerable plant.
The timing for when you should begin fertilizing your seedlings relies on the type of growing medium you choose to sow the seeds in. Since soilless seed-starting mixes lack significant nutrients, the developing seedlings will quickly require additional nourishment, typically through supplementation. all-purpose liquid fertilizer Diluted to half-strength. In contrast, potting mixes typically come with controlled-release fertilizer included, so you won’t have to feed the seedlings until they're ready for transplantation into your garden.
Nevertheless, because seedlings develop rapidly, keep an eye out for indications of nutrient shortages. Such indicators may consist of foliage that appears faded or yellowish, leaves with purplish hues, and development that is below average.
12. Avoiding the Hardening Process for Seedlings
The seedlings cultivated indoors have received consistent warmth, frequent watering, perhaps some fertilization, mild light exposure, shelter from winds, among other attentions. Hardening off seedlings slowly acclimates young plants to the rigorous outdoor environment, where they will ultimately flourish. Placing seedlings directly from indoor settings into the garden can be quite jarring for them. This sudden change could lead to issues like sunburn and various stresses, potentially hindering their growth for an extended period or even causing damage severe enough to kill them off.
Allocate about a week or up to ten days for hardening off your seedlings outside. Begin by placing them outdoors in a shaded area for just a few hours, then gradually increase both the duration and level of sunlight they're exposed to each day. This process will help them adjust and better prepare for their new environment in the garden.
Read the initial article on Better Homes & Gardens

Comments
Post a Comment